Instant Pot Bone Broth + 3 Hacks
Bone broth is a pain to make, but with Instant pot and easy prepping hacks, you'll enjoy making bone broth without spending hours and hours buying, prepping, and cooking bone broth!
Servings 0 servings
Ingredients
- 3-5 pound whole chicken
- 1-2 pounds bone-in chicken drumsticks or wings
- 1-2 pounds bone -in chicken thighs
- 1-2 whole carrots chopped in large chunks
- 1/2 large onion cut in half
- 1-2 celery stalks chopped in large stalks
- 1 tsp whole peppercorns
- 1 large sprig fresh rosemary
- a few sprigs fresh rosemary
- handful fresh parsley
- 1 glug apple cider vinegar
Instructions
- For ease of prepping, pick out your meat at the store and have the butcher separate the meat from the bones for you while you shop. (You may need to call your butcher ahead of time for this and go during off-peak times)
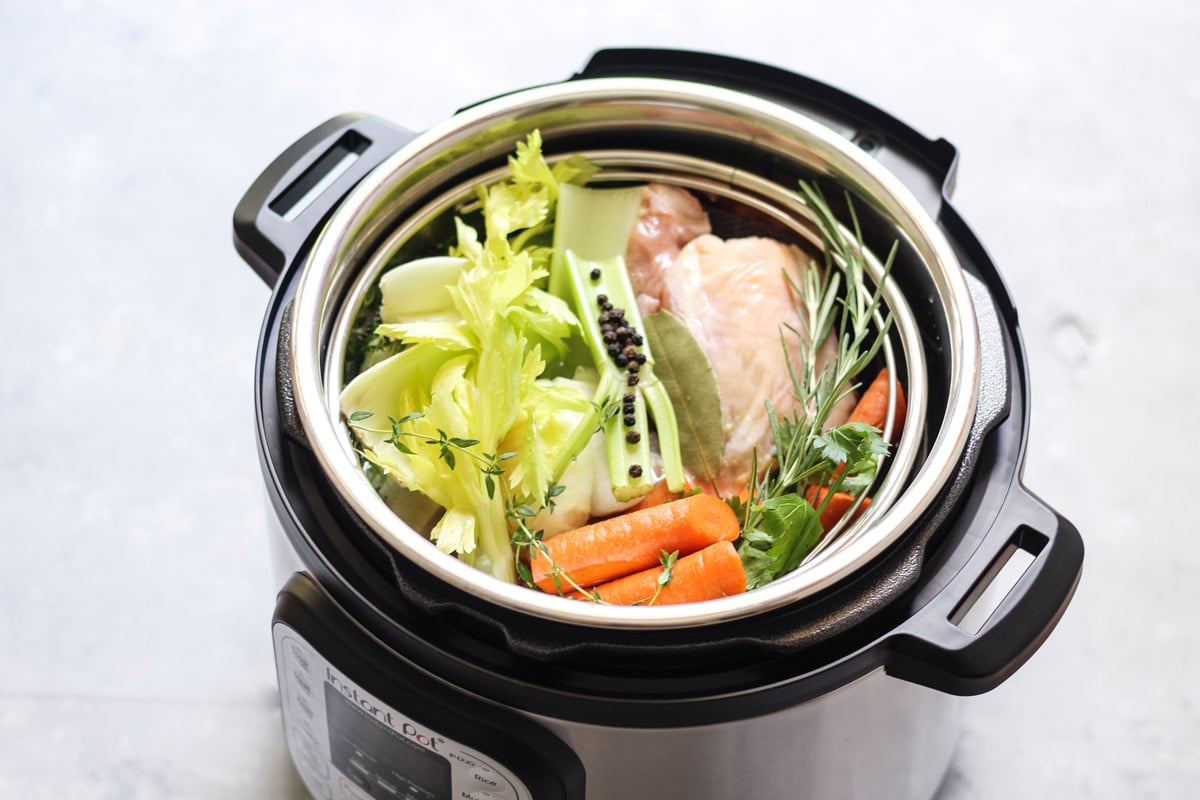
- Place the bones from the whole chicken, drumsticks, and thighs inside the Instant Pot strainer, including neck bones from the carcass.
- Add the onion, celery, carrots, whole peppercorns, fresh herbs to the strainer.
- Fill the Instant Pot below the fill line with water. Place the strainer inside the pot and check to make sure the water hasn't risen over the fill line. Add apple cider vinegar.
- Do not add salt to your broth. You can add salt to your broth once you drink it or cook with it.
- Make sure the Instant Pot lid is sealed. Flip the knob towards "sealing" to seal in the pressure.
- Plug in the Instant Pot and press "pressure cook". Turn the time to 2 hours or 120 minutes. The instant pot should say "on" at this point. This means that the pot is heating up and pressurizing. This should take about 30 minutes. Once the instant pot is up to temperature, it will start timing the 2-hour pressure cooking, so you will know how long this will take.
- Once the instant pot is done with the cooking process, the heat will turn off. At this point, you will need to release the pressure from the pot. However, I do NOT recommend releasing the pressure manually from the pressure knob. Instead, allow the pressure to release naturally, which takes 10-25 minutes, but will keep steam/broth from shooting all over your ceiling!
- When the silver knob drops next to the knob, the pressure has released. Please watch the quick 2-minute video linked for this in the post to see exactly what I mean.
- Remove the lid and remove the strainer with all of the ingredients. Pour the liquid broth into a large vessel and ladle or funnel the broth into mason jars. Place the lid on, but not too tight.
- The broth will keep for about three days in the fridge, or up to one month in the freezer.
Notes
For safety, please watch this 1-minute video on quick release or natural release method for the instant pot.
Pro-tips:
- Pick out your meat at the grocery store and ask the butcher if they can remove the meat from the bones for you while you shop.
- Use an Instant Pot-compatible strainer to instantly strain out all of the veggies, spices, and bones all at once! I cut off the rubber cover on the handle so it wouldn't leach chemicals in the pot.