Skip to primary navigation
Skip to main content
Skip to primary sidebar
Skip to footer
Home
About
Recipe Index
French Croissant Video Course
Bessie Bakes Backdrops
Contact
Search
Bessie Bakes
menu icon
subscribe
search icon
Search
Soul-satisfying food at home
Recipes
About
Bessie Bakes Backdrops
Contact
Facebook
Instagram
Pinterest
YouTube
×
chicken
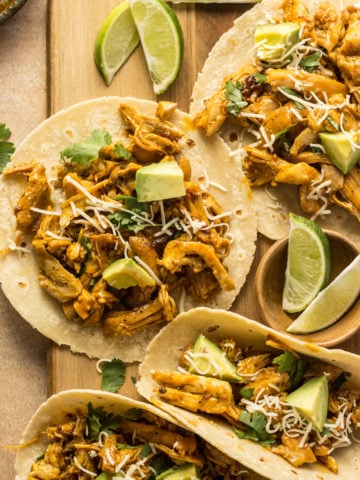
Easy Chipotle Orange Chicken Tacos
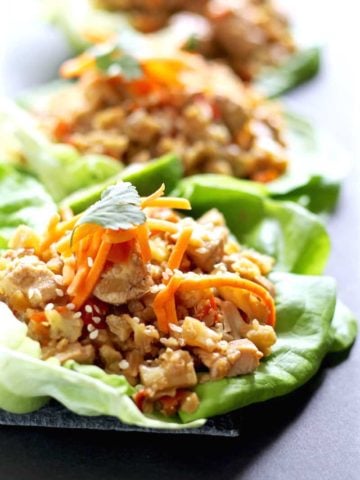
LOW CARB CHICKEN & CAULIFLOWER LETTUCE WRAPS
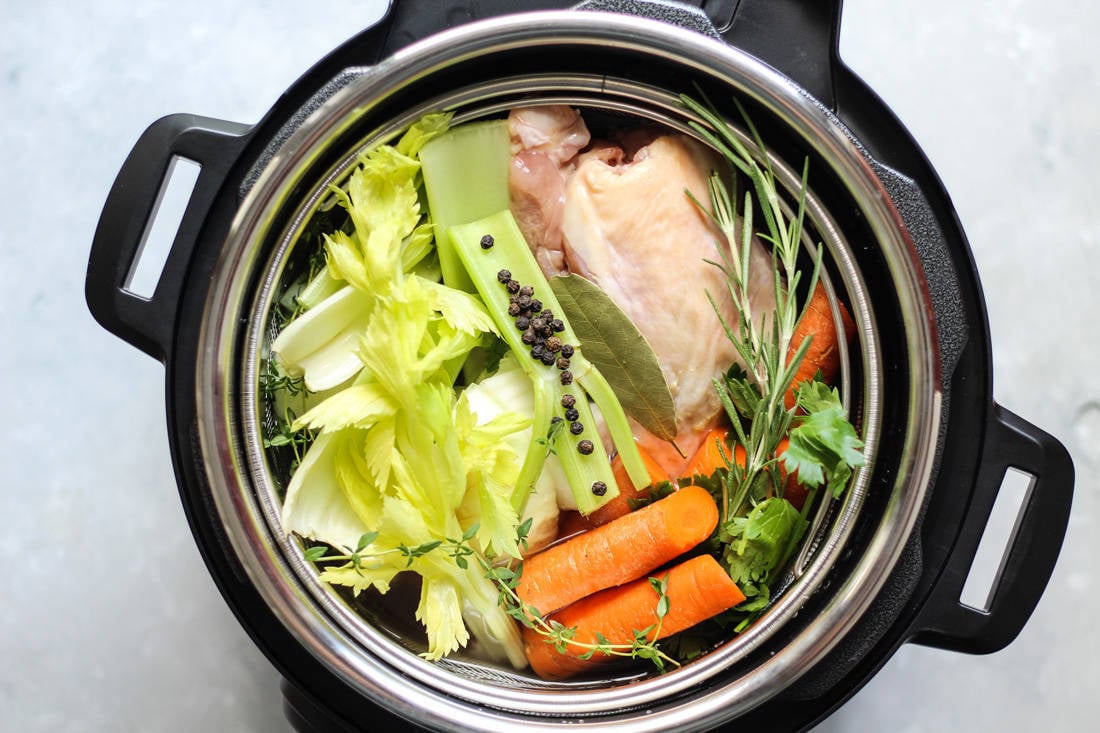
HOW “THE BONE BROTH DIET” HELPS YOU SHED POUNDS & LOSE WRINKLES ACCORDING TO DR. KELLYANN PETRUCCI